Chapter 2. Installation - JBoss Portal 2.6 Reference Guide 英文版参考指南文档
There are 4 different methods to getting JBoss Portal up and running. The one you choose is up to you, but all result in your being able to run/deploy the best Portal application in the world. ;-)
Note
As of JBoss Portal 2.4-CR1, we have made available pre-configured clustered versions. They are available from the download page , in the same 3 flavors as the non-clustered version. The installation difference, being that they must be deployed in the all configuration in JBoss AS. Read Chapter 9, Clustering Configuration for more details on how to customize your clustered install, once deployed.
Note
Binary distributions of JBoss Portal include the WSRP service which is not automatically deployed with the source distribution. WSRP is built upon the JBoss WS web service stack. As such, it has some additional constraints. In particular, there is a known issue with the version 1.0.0.GA of JBoss WS (bundled with JBoss Application Server 4.0.4.GA) that prevents the complete deployment of JBoss Portal's WSRP service if the user is not online or behind a firewall/proxy. This, in turn, prevents the deployment of JBoss Portal. If you do not need the WSRP service, you can remove the portal-wsrp.sar file from the jboss-portal.sar file. If you'd like to use the WSRP service, the JBoss WS issue has been addressed in version 1.0.2.GA of JBoss WS. Please follow the instructions on how to upgrade JBoss WS as found on JBoss Portal's wiki.
This is the easiest and fastest way to get JBoss Portal installed and running. The reason, is that the download bundle contains JBoss Application Server, and JBoss Portal uses the embedded Hypersonic Database.
Get the Bundle: The download bundle is available from our download page . Bundles are noted with the 'JBoss Portal + AS' naming convention.
Extract the bundle: Extract the zip archive to a directory of your choosing. In windows, we recommend, C:\jboss-X.X.X
Start the Server: Go to JBOSS_INSTALL_DIRECTORY/bin and execute run.bat (run.sh, if Linux)
Note
During the first boot (ever), SQL errors in the log, like the one below, can be safely ignored. They are thrown when the portal checks for the existence of the initial tables, before it creates them for you.16:43:39,234 WARN [JDBCExceptionReporter] SQL Error: -22, SQLState: S0002 16:43:39,234 ERROR [JDBCExceptionReporter] Table not found in statement ...
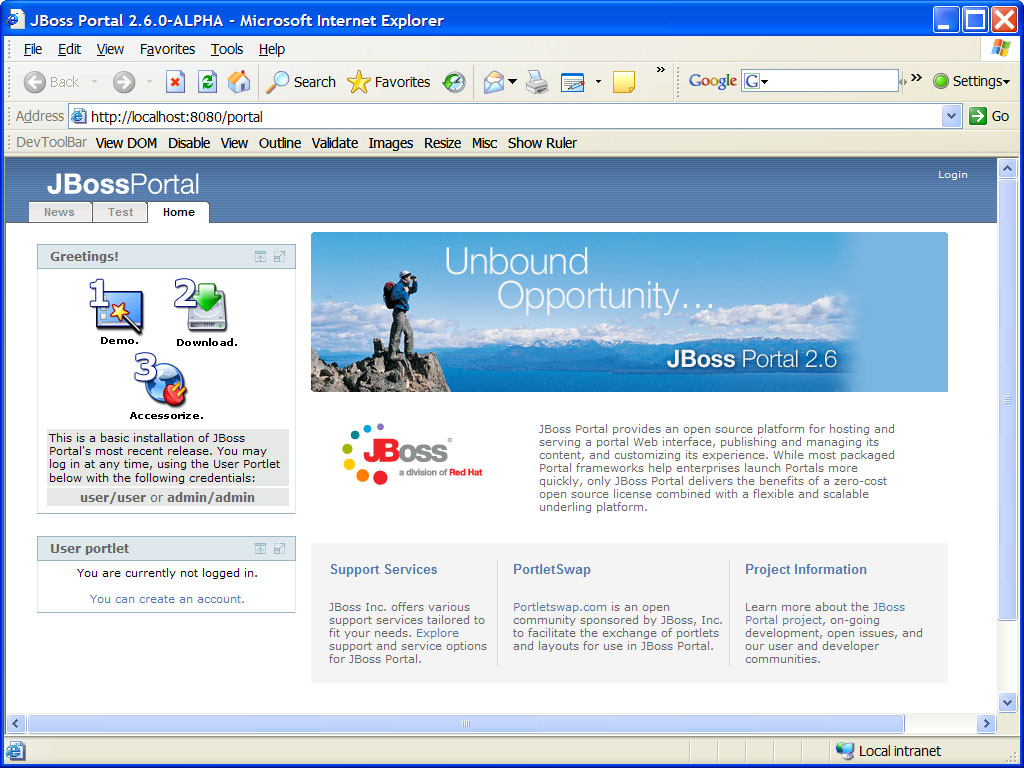
Point your browser to http://localhost:8080/portal , and you should see the Portal HomePage. You can now login using one of the two default accounts: user/user or admin/admin .
The binary download package typically consists of the jboss-portal.sar , documentation (which you are already reading), and a set of preconfigured datasource descriptors that allow JBoss Portal to communicate with a database.
This installation method is preferred by those who already have JBoss Application Server installed.
The binary download is available from our download page .
Once downloaded and extracted, the folder hierarchy should look like this:
 |
We will be using files contained in this download in the further sections, so please download and extract it first.
Of course you will need to install JBoss Application Server prior to installing JBoss portal, if you didn't do so yet, please install JBoss 4.0.4+ from here .
Warning
Make sure to download the JBoss AS Zip version. DO NOT ATTEMPT to deploy JBoss Portal on the installer version of JBoss AS! We are currently working on aligning the Application installer with JBoss Portal.
You will need a database for JBoss Portal to function, you can use any database supported by Hibernate.
Create a new Database: For example purposes we call this new database jbossportal
Grant access rights for a user to your database: You must make sure the user has access to this new DB, as JBoss Portal will need to create the tables and modify data within them.
Deploy your JDBC connector: You must make available a JDBC connector for JBoss Portal to communicate with your database. The connector lib should be placed in JBOSS_INSTALL_DIRECTORY/server/default/lib/*
The JBoss Portal download you extracted in Section 2.2.1.1, “Getting the Binary” contains pre-configured datasource descriptors, you can use for most popular RDBMS under the setup directory.
 |
At this point, you should configure the one that suits you best with your Database and JDBC driver.
<?xml version="1.0" encoding="UTF-8"?>
<datasources>
  <local-tx-datasource>
    <jndi-name>PortalDS</jndi-name>
    <connection-url>jdbc:postgresql:jbossportal</connection-url>
    <driver-class>org.postgresql.Driver</driver-class>
    <user-name>portal</user-name>
    <password>portalpassword</password>
  </local-tx-datasource>
</datasources>
Please verify that the username, password, url, and driver-class are correct for your flavor of DB. You can deploy the datasource file by itself to test, in advance.
Deploy: Copy the datasource descriptor file (*-ds.xml) you modified above AND the jboss-portal.sar from the download folder to JBOSS_INSTALL_DIRECTORY/server/default/deploy/.
Start the Server: Go to JBOSS_INSTALL_DIRECTORY/bin and execute run.bat (run.sh, if Linux)
Note
During the first boot (ever), SQL errors in the log, like the one below, can be safely ignored. They are thrown when the portal checks for the existence of the initial tables, before it creates them for you.16:43:39,234 WARN [JDBCExceptionReporter] SQL Error: -22, SQLState: S0002 16:43:39,234 ERROR [JDBCExceptionReporter] Table not found in statement ...
Point your browser to http://localhost:8080/portal , and you should see the Portal HomePage. You can now login using one of the two default accounts: user/user or admin/admin .
There are two ways for you to obtain the JBoss Portal source files:
From our download page
From CVS, running the following command:
cvs -d :pserver:anonymous@anoncvs.forge.jboss.com:/cvsroot/jboss co jboss-portal-2.4
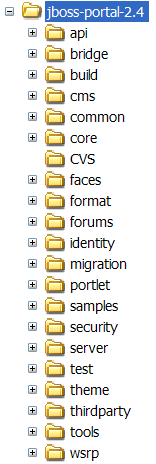
After checking out of CVS or extracting the Source zip, your directory structure should look like this:
 |
Of course you will need to install JBoss Application Server prior to installing JBoss portal, if you didn't do so yet, please install JBoss 4.0.4+ from here .
Warning
Make sure to download the JBoss AS Zip version. DO NOT ATTEMPT to deploy JBoss Portal on the installer version of JBoss AS! We are currently working on aligning the Application installer with JBoss Portal.
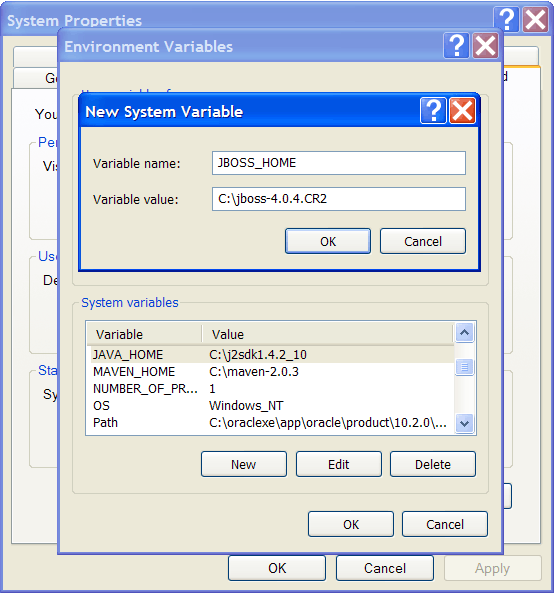
For the build targets to work, you must first set the JBOSS_HOME environment variable in your operating system, to the root directory of the JBoss Application Server installation.
In Windows, this is accomplished by going to Start > Settings > Control Panel > System > Advanced > Environment Variables . Now under the System Variables section, click New . You will be setting the JBOSS_HOME environment variable to the location of your JBoss Application Server installation:
 |
On a Unix-like Operating System, you would accomplish this by typing:
export JBOSS_HOME=/path/to/your/jboss/directory
You will need a database for JBoss Portal to function, you can use any database supported by Hibernate.
Create a new Database: For example purposes we call this new database jbossportal
Grant access rights for a user to your database: You must make sure the user has access to this new DB, as JBoss Portal will need to create the tables and modify data within them.
Deploy your JDBC connector: You must make available a JDBC connector for JBoss Portal to communicate with your database. The connector lib should be placed in JBOSS_HOME/server/default/lib/*
You will need a valid datasource descriptor, for JBoss Portal to communicate with your database. Having obtained the sources and having set your JBOSS_HOME environment variable ( Section 2.3.2.2, “Operating System Environment Setting” ), you can now have the JBoss Portal build system generate preconfigured datasources for you.
Navigate to JBOSS_PORTAL_HOME_DIRECTORY/core and type:
build datasource
 |
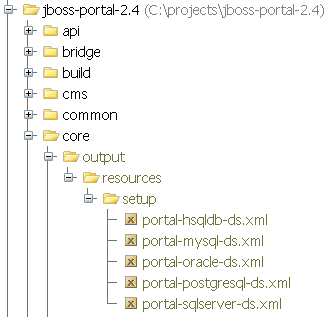
Once complete, the datasource build should produce the following directory and file structure:
 |
At this point, you should configure the one that suits you best with your Database and JDBC driver.
<?xml version="1.0" encoding="UTF-8"?>
<datasources>
  <local-tx-datasource>
    <jndi-name>PortalDS</jndi-name>
    <connection-url>jdbc:postgresql:jbossportal</connection-url>
    <driver-class>org.postgresql.Driver</driver-class>
    <user-name>portal</user-name>
    <password>portalpassword</password>
  </local-tx-datasource>
</datasources>
Please verify that the username, password, url, and driver-class are correct for your flavor of DB.
Now copy your datasource descriptor to JBOSS_HOME/server/default/deploy
To build and deploy the JBoss Portal service, go to JBOSS_PORTAL_HOME_DIRECTORY/build and type:
build deploy
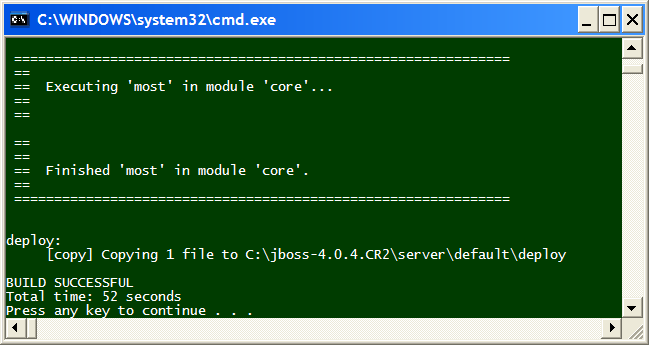 |
Note
To build the clustered version, you will need to go to JBOSS_PORTAL_HOME_DIRECTORY/build and type:build mainThen, go to JBOSS_PORTAL_HOME_DIRECTORY/core and type:
build deploy-haThis will copy the jboss-portal-ha.sar to your all configuration for you.
At the end of the build process, the jboss-portal.sar is copied to JBOSS_HOME/server/default/deploy :
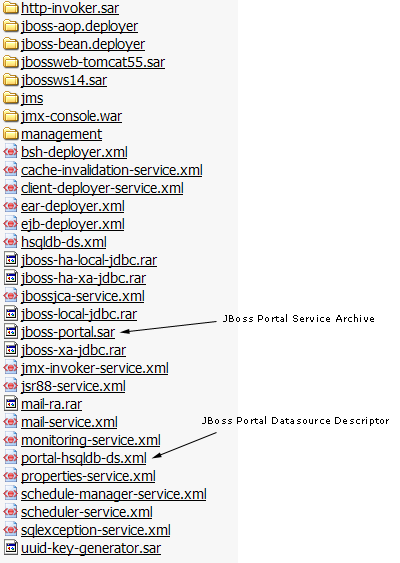 |
Please verify that your JBOSS_HOME/server/default/deploy directory, contains both necessary files before starting JBoss Application Server.
Start the Server: Go to JBOSS_HOME/bin and execute run.bat (run.sh, if Linux)
Note
During the first boot (ever), SQL errors in the log, like the one below, can be safely ignored. They are thrown when the portal checks for the existence of the initial tables, before it creates them for you.16:43:39,234 WARN [JDBCExceptionReporter] SQL Error: -22, SQLState: S0002 16:43:39,234 ERROR [JDBCExceptionReporter] Table not found in statement ...
Point your browser to http://localhost:8080/portal , and you should see the Portal HomePage. You can now login using one of the two default accounts: user/user or admin/admin .
As of JBoss 4.0.4GA, users are able to install JBoss Portal using the portal configuration in the installer process. This method often makes it easier to install AS + Portal, and allows for running JBoss Seam portlets by incorporating required libraries.
Warning
This method will normally not supply you with the latest version of JBoss Portal. An alternative, is to run through the entire install process, and then replace the portal binary with the latest from the JBoss Portal download site.
Download the installer package from the JEMS installer page, here .
Warning
DO NOT use the JBoss Application Server Installer, as it will not contain the portal configuration! You must use this JEMS installer!After you have downloaded the installer jar, you can execute it with java -jar xxxx-installer.jar
Select your language.
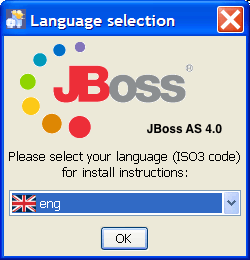
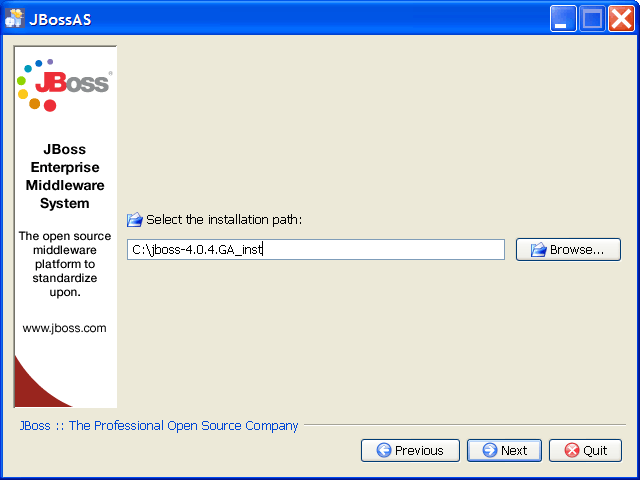
Select an install path.
Select the portal configuration.
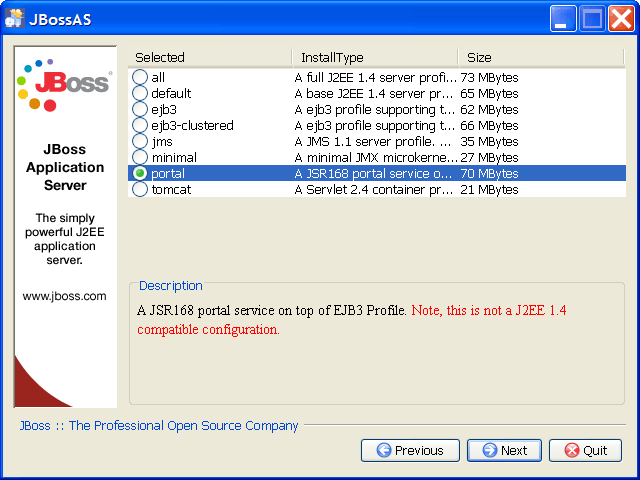
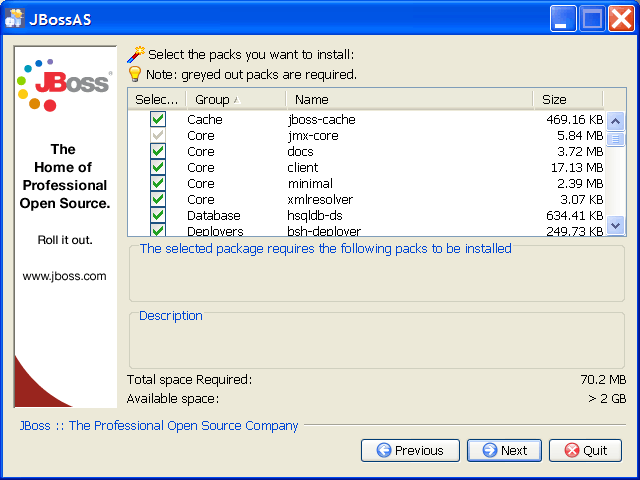
Select the packs to install (normally, you would leave this alone).
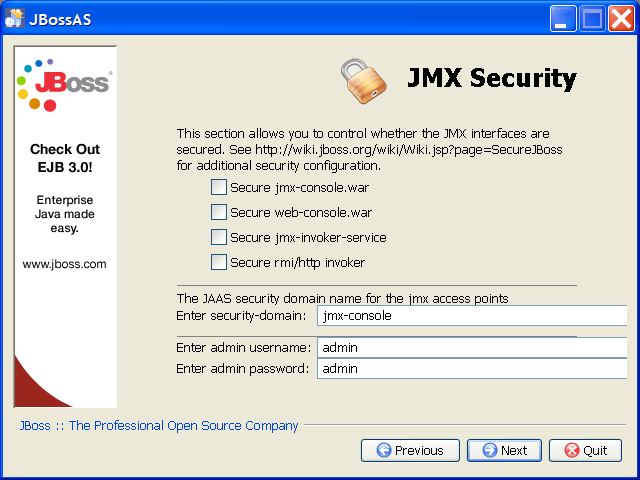
This is not portal specific, but it is good practice to secure your deployment here.
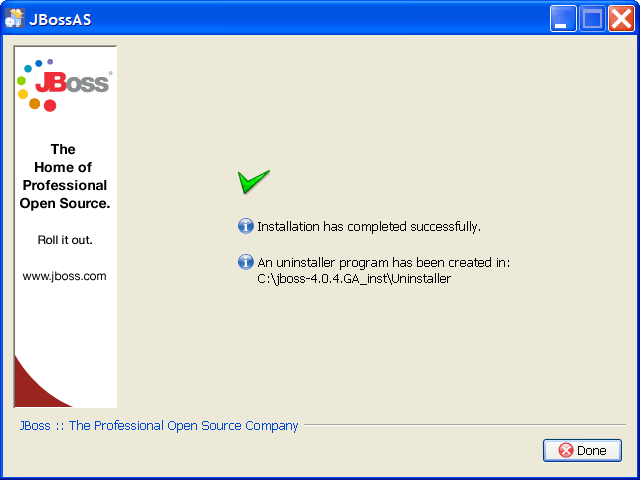
Fin.
Now, start JBoss AS, by executing INSTALL_PATH/bin/run.bat . The initial startup process will create all of the necessary portal tables in the embedded Hypersonic database.
Note
This will require JDK5+Point your browser to http://localhost:8080/portal to view JBoss Portal.
